Saturday, 10 January 2015

Green and Clean Smoothie

Well it's a new year and with that, inevitably, comes a whole load of resolutions that, if you're anything like me, have already been broken. Overhauling your fitness and diet regime is probably the most common resolution that people make, yet very few people stick it out. Frankly, healthy diets and exercise shouldn't just be for January; they should be a lifestyle choice that becomes second nature as opposed to making you feel like you've signed your life away. 


The whole Christmas and New Year period often ends up being centered around food and booze which, during times when I used to be way too hard on myself, I found terrifying but I've learnt to just let go and enjoy the time where it is socially acceptable to overindulge! The way I see it now, the more gin and prosecco I can chuck down my neck, the better (although I have to admit, I still feel a bit ropey after new years eve... I'm definitely the wrong side of 25). 
Anyway, if you can't beat them, join them. I have stumbled across a smoothie recipe which I think is great for helping you feel a bit more revitalised. You can almost feel your body thanking you! As green smoothies go, I have to say this one is pretty nice. I've certainly had a lot worse. The avocado gives it a creamy consistency whilst the ginger is amazing for aiding you digestion. You should think of all the ingredients acting to counteract all the crap you've put in your poor little bodies for the past few weeks. 

As I said, a healthy diet should be part of an everyday lifestyle but, if you're stuck with where to start, then why don't you give this green machine a try.


You Will Need:
-1/4 cucumber
-1/2 handful spinach leaves
-1/2 avocado
-1 celery stalk
-1cm piece fresh ginger
-1 kiwi fruit
-300ml water
-1/2 apple
-squeeze of lemon juice


All you need to do is blend the ingredients together in the blender. Easy! For added nutritional value, you can leave the skin on the cucumber. A 1cm piece of ginger should suit most people but, if you like more of a kick, I would definitely recommend adding more.


If this one isn't to your liking, the internet is in total abundance of recipes like this so it won't be hard to find one you prefer. The advantage of smoothies like this is that they are incredibly nutrient dense and so easy to make. Give it a go!

Nic
 X


Saturday, 6 December 2014

Almond Angel Cupcakes

Keeping in the spirit of Christmas, here's the second instalment of Seasonal baking from me! These almond angel cupcakes are so sweet to look at, you almost don't want to eat them. But then, what would  be the point of all that hard work?! Be warned though. As lovely as they are, the butter icing is incredibly rich. There's no way of making these without using LOTS of butter icing as you need to build up the angel. If you have children, definitely keep these on a ration! In fact, scrap that. Ration them anyway. I felt like I needed to sit down and breathe slowly for a while after eating one of these. But hey, it's Christmas, so crack on...


You Will Need:
-150g butter, softened
-150g caster sugar
-1 orange, grated zest only
-3 eggs, beaten
-100g self-raising flour, sifted
-50g ground almond powder
-1/2 tsp. vanilla extract

For the angels:
-300g marzipan
-24 silver balls
-12 jelly sugared sweets 
-1 tbsp. icing sugar

For the frosting:
-200g butter, at room temp.
-250g icing sugar
-1/2 tsp. vanilla extract
-1 tbsp. freshly squeezed orange juice


Preheat your oven to 180C/160C fan/gas 4. Cream together the butter and sugar with the orange zest until light, fluffy and pale. Gradually mix in the beaten egg, alternating with the flour and ground almonds to avoid the mixture from curdling. Stir through the vanilla extract.


Place 12 paper cupcake cases in a muffin tin and divide the mixture equally between them. Bake for 15-20 minutes until golden and springy to the touch at which point you can remove them from the oven and transfer to a wire rack to cool.


Whilst the cakes cool, begin to prep the angels. Shape a third of the marzipan into 12 balls and press two silver balls into each one as eyes. Shape the remaining marzipan into 24 wings. I find this easier to do by using a sharp knife to trace an outline of a heart into the marzipan and then dividing in the middle so that you get two equal wing shapes. For the hands and halo, I used diamond shaped jelly sweets. To make the hands, cut the diamonds in half (these will stick into the side of the icing eventually). The halo can simply be made by using a small amount of icing sugar and water to act as a glue to stick a jelly diamond to the top of the marzipan ball. 


To make the butter icing, beat the butter with a spoon in a mixing bowl until smooth before sifting in the icing sugar, stirring regularly. Add the vanilla extract and orange juice. Once the cupcakes are completely cool, use a piping bag to pipe the the icing on them, starting from the outside of the cake and working into the centre to create tall peaks. The icing is easier to do this with if you leave it to solidify a bit in the fridge beforehand for about 10 minutes. Place a head on the top of each, push the hands into the sides and the wings into the backs. You have now created your own perfect little angels! These can be stored in airtight containers for 24 hours but, if you can't wait, they are best eaten straight away anyway!


Nic
 X


Wednesday, 19 November 2014

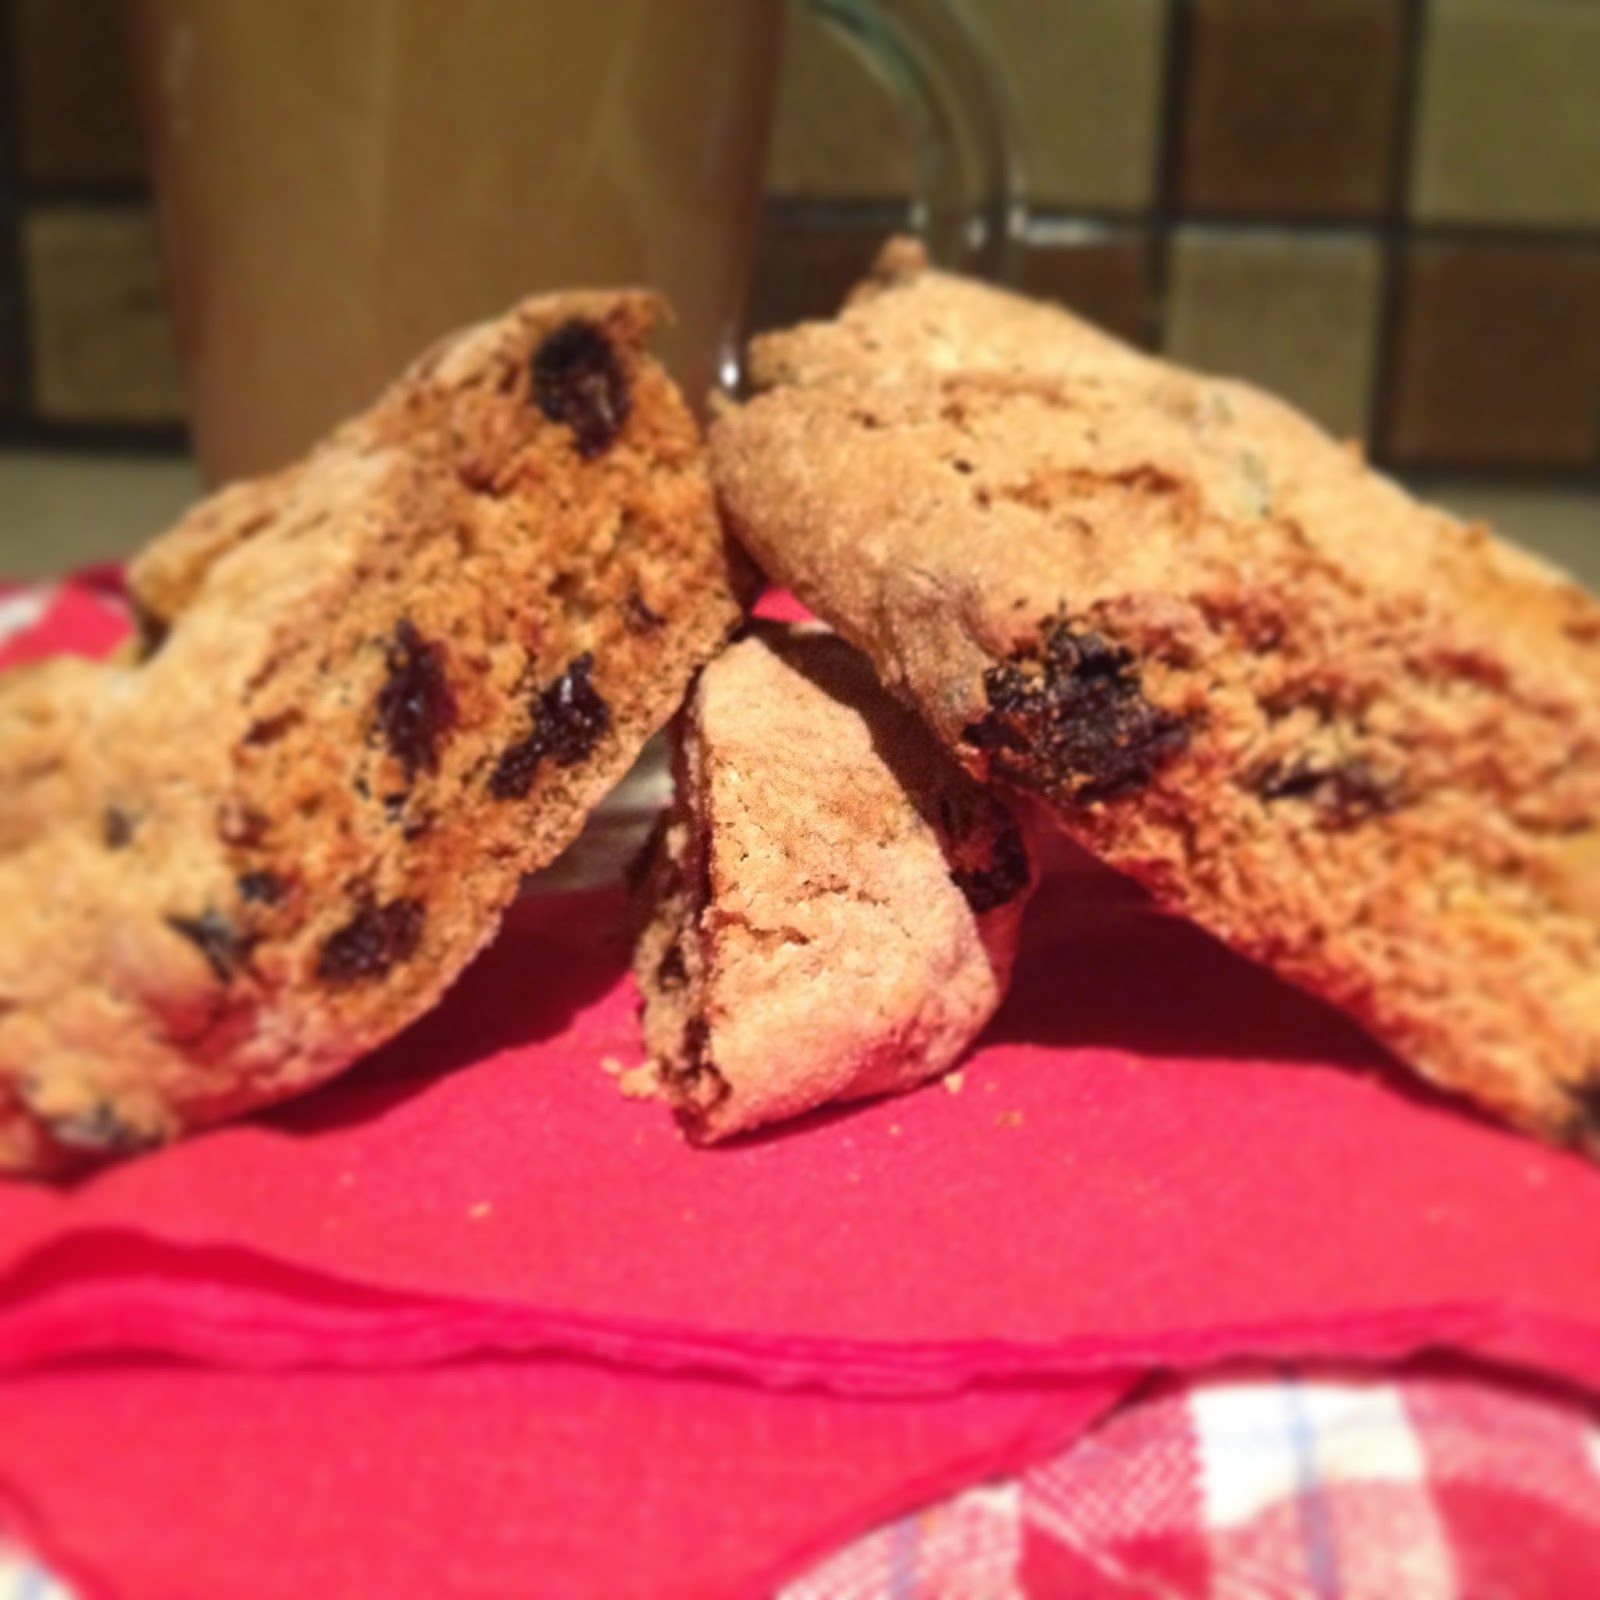
Fruity Christmas Biscotti

Right, before you read any further, if you're anti-Christmas or think mid-November is too soon to talk about it then bugger off. I LOVE Christmas. Don't get me wrong, Summer days, BBQs, al fresco daytime drinking are also great but it doesn't beat the atmosphere of the lead up to December 25th. To get in the festive spirit, I decided to do some Christmas baking last weekend. Usually for this blog, I try to do recipes which are suited to certain dietary requirements or that are a little unusual, but it's Christmas and I decided to make whatever the hell I wanted with gay abandon. The fact that it also meant two hungover and/or hungry men in the house had something yummy to munch on definitely means I deserve pride of place on top of the Christmas tree. 

FYI: no real reason for the picture above, apart from the fact it is just TOO DAMN CUTE! Anyway, first up, Fruity Christmas Biscotti. This is such a good all rounder. Easy to make, it can be eaten for your own personal pleasure with a nice hot beverage, or you could choose to give it to family and friends as a stocking filler. As long as you don't burn the stuff, the fact you've made a gift for someone should definitely earn you some present-points for next year. 


You Will Need:
-350g plain flour, plus extra for rolling
-2 tsp. baking powder
-2 tsp. mixed spice
-250g golden caster sugar
-3 eggs beaten
-coarsely grated zest of 1 orange
-85g raisins
-85g dried cherries
-50g blanched almonds
-50g shelled pistachios


Before you begin, heat the oven to 180C/160 fan/gas mark 4 and line two baking trays with parchment paper. Put the flour, baking powder, spice and sugar in a large bowl and mix together. Stir in the beaten eggs and zest until the mixture starts to form clumps. At this point, use your hands to bring the rest of the dough together to the point where you can pretty much wipe the bowl clean. Add the fruit and nuts and continue using your hands to mix until they are evenly distributed throughout the dough.


Use some flour to spread lightly across a clean surface and turn the dough out onto it. Divide into 4 equal sections and use your hands to roll each section into roughly a 30cm long sausage shape . 


Place two sausages on each tray, spread far apart and bake for 25-30mins until the dough has risen and is firm to touch. There should be no colour to the dough at this point. Remove from the oven and transfer to a wire rack until cool enough to handle. Prepare the oven for phase two of the baking by turning it down to 140C/120 fan/gas mark 1.


When cool enough, use a bread knife to cut into diagonal slices which are 1-2cm thick. Lay the slices flat on the baking trays and bake for 15 minutes. Turn the slices over and bake for another 15 minutes or until dry and golden. Turn onto a wire rack to cool. They can be stored in an airtight container for up to a month! However, if the smell of the baking biscotti is too hard to resist, then prepare to dig in.


Nic
 X


Thursday, 6 November 2014

Kettner's

If you're looking for something with a touch of class and romanticism, but still affordable, then look no further than Kettner's. I'm due to make my fourth visit here next week and I have no doubt that it'll be as amazing as the previous three; both in style, delicious food and just for it's overall atmosphere.


Kettner's prides itself on its history. Originally opened in 1867, it has survived two world wars and has had such historical figures as Oscar Wilde, Agatha Christie and Bing Crosby walk through the doors, as well a fair few royal faces! What I love so much about Kettner's is you can make it what you want. You could dress up to your hearts content for a super swanky evening, or simply put on your comfy hangover clothes and no one would bat an eyelid. It's impossible to get bored here too as they cover all areas. They have a range of afternoon teas on offer (including a free-flowing prosecco one...eeeer HELLO!), brunches, pre/post-theatre and, best of all, a Gin, Fizz & Jazz night every Tuesday featuring live blues singers and £6 gin cocktails. If I can't have free gin then £6 gin cocktails is surely the next best thing?! 

Anyway, this particular visit was on a Wednesday so I'll focus more on the food than the gin (booo). But even so, it's not disappointing! When you're having a midweek dinner accompanied by a man on a grand piano, there's not too much to complain about really is there...


So onto the food. With a regularly changing menu, it's always easy to try something different. Knowing that this was going to be a 3-course affair, I went for the lighter option of fresh buffalo mozzarella with red peppers and an black olive tapenade. The tapenade is what sold this to me, and it didn't disappoint. Mozzarella can quite often be bland in flavour but the saltiness from the olive emphasised everything else.


Also on offer was chicken liver parfait with homemade piccalilli and crispy sourdough. The presentation of this made the, lets face it, "pate and toast" really stand out. 


Next up, the mains. As you probably have guessed by now, I'm an absolute lover of all things from the sea. So I was more than happy with this pan-fried pollock with Jerusalem artichoke puree and sauteed wild mushroom. Although it was a nice dish overall, the pollock was slightly overcooked due to how big the fillet was. I'd preferred to have had a smaller amount that didn't need to be cooked for as long.


My regular partner in crime also went for a fish based dish: pan-fried fillet of stone bass with squid ink tagliolini, prawns and mussels. I have to admit, I had major food envy over this. I definitely lost out!


Finally, dessert. As per, it was a pointless case of overindulgence here but these things have to be done! I was having a bit of a rough week at this point (get the violins out) and there was only one think that could make it better....sticky toffee pudding. Simple! The addition of peanut ice cream gave a slight twist to a British classic. Absolute blood perfection.


So overall, another successful visit to Kettner's! This is such an easy place to enjoy, no matter what the occasion. I'll be back... (booking already in for next Tuesday. Keen).

Nic
 X

Wednesday, 29 October 2014

Myung Ga

I'm a sucker for a gimmick. And although this Korean restaurant isn't being deliberately gimmicky, the idea of having your food cooked on hot-plates installed in to your table is something I had to try! I actually went here for the first time on a work night out and knew I had to experience it again. Based on Kingly Street in London, Myung Ga is slap bang in the middle of alleyways and back streets which run between Oxford Street, Leicester Square and Piccadilly Circus. 

When inside, it doesn't try to be anything it's not. It's not sleek or modern in any way but it still draws the crowds in consistently. As I said, the main feature of this is the fact that food is cooked on your own hot-plates. We had our waitress do it for us but I was aware of other tables doing it themselves (maybe they're regulars and could be trusted not to burn the place down?!). 


The drinks menu is lacking unless you're really into Sake of any kind (which I can safely say I'm not). Only the house wine is sold by the glass which, lets be honest, is always going to taste like vinegar. Put it this way: don't come here for the booze. 
The food menu on the other hand is totally different from what I might normally stumble across. Again, it doesn't try to be glamorous. It is simple, traditional Korean food which features a wide range of meat, seafood and pancake-style dishes. 


We decided to order a bunch of stuff to come together so that we could mix and match. However, we ended up with a selection of cold vegetable dishes as a "starter" which kind of defeated the point but they were nice all the same. These assorted vegetable dishes included the traditional kimchee (pickled cabbage), marinated cucumber, radish and beansprout. On their own, they don't consist of much but they are awesome when added to the main attraction (more on that later!)


We also got some of the panfried dumplings stuffed with beef and vegetables and some of the panfried courgette. Both were nice although you could've had the same items anywhere else.  


Now to the hot-plate. You get to choose from a selection of meat cuts or seafood (or both), which have been prepared and marinaded differently depending on what you order. For example, you could have beef ribs marinated in soy, onions and garlic sauce, or even sliced ox tongue marinated in lemon juice. Being a seafood lover, we went for the assorted seafood BBQ which included prawn, squid, scallops and mussels. Whatever you decide, it gets prepared in front of you and served with large lettuce leaves which you use as your "wrap". 


Now comes the bit to get creative! Using the lettuce leaves, you can construct your own little beaut of a wrap using the sauces they automatically provide, vegetables and whatever your protein you opted for. Think of it as REALLY low-carb burger. Having said that, we ordered a side of rice so you can easily bulk it out a bit with that. 


And there you have it! Each bite can be filled with pride at knowing you (kind of) made it yourself. You get plenty of stuff to put together about 4 wraps each but, if not enough, just order more!

Overall, I would 100% recommend this place, even if just for the fact it's something a little bit different. The only downside though is that, due to ordering all items separately, the cost can very quickly add up. We were definitely left wondering how we'd spent so much money considering we didn't really eat that much. So yeh...have a calculator to hand!

Nic
 X

Thursday, 16 October 2014

Coconut Garlic Kale Chips

Being a bit of a foodie, I like to not only try new foods when I'm eating out but also experiment with more "unusual" ingredients when trialing recipes at home. Although it's nothing new, coconut oil is still a far cry from being classed as a kitchen cupboard staple item. Possibly to do with the higher cost; possibly to do with people not knowing how they can use it. Unlike most cooking oils, coconut oil comes in a solid form so obviously requires heating gently before use. What may put people off is that it is officially classed as being a saturated fat. However, the fatty acids in coconut oil are medium-chain triglycerides which are metabolised differently by the liver and used as a quick source of energy. Those that aren't used for energy are turned into ketone bodies which have a hugely positive effect on brain health, including therapeutic effects on diseases like Alzheimer's. Put it this way...you could never compare the saturated fats in coconut oil to those in a lump of cheese or a fatty steak!

Anyway, whilst I'm sure you all found that highly interesting, I should move on to the actual recipe. These Coconut Garlic Kale Chips are so easy to prepare and ridiculously addictive. However, I won't lie. It took two attempts for me to get these right... a few seconds too long in the oven means something nicely crisp and green turns into a charred, burnt mess!


You will need:
-1 large bunch kale
-40g unsweetened coconut flakes
-2 tbsp. coconut oil
-1 garlic clove, crushed
-120ml coconut milk
-sea salt


Preheat your oven to 170C/ 150 fan/ gas mark 4 and line a couple of baking sheets with parchment paper. Wash the kale and cut out any large stems. Tear into about 2 inch pieces (really no need to be accurate at this point!) and dry as thoroughly as possible. Combine the coconut oil, garlic and coconut milk in a small bowl and microwave for approx. 45 seconds until the oil has completed melted. 


Pour the melted mixture over the kale and mix thoroughly to get each piece of kale coated in oil. It's easiest to use your hands when doing this. 


Spread out the kale on the baking sheets, making sure it is just a single layer. For once large bunch of kale, you'll probably need 2 - 3 baking sheets. Bake for 25 minutes, flipping the kale half-way through. Easy!


Nic
 X